NGINX Proxy with SSL
This section requires NGINX.
Cloudflare
If using Cloudflare, you can generate a certificate for your domain through the dashboard.
First head over to your Cloudflare dashboard and select your domain. Then click the SSL/TLS tab and click "Client Certificates".
Click "Create Certificate", and choose the following options.
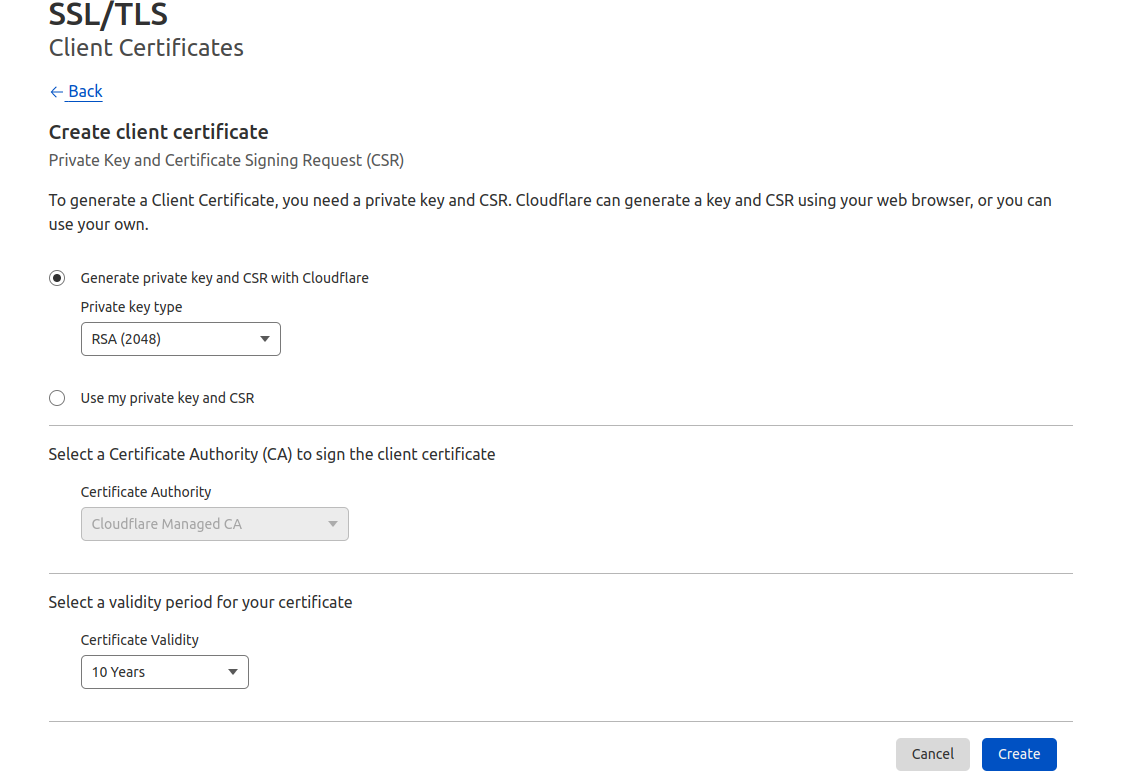
Click create once you have selected the options, and you will be given a certificate in the "PEM" format. Copy the certificates content and paste it into a file called /etc/ssl/certs/<your domain>.key.
Copy the private key's content and paste it into a file called /etc/ssl/certs/<your domain>.pem.
If your domain was diced.tech you would have the following 2 files:
/etc/ssl/certs/diced.tech.key/etc/ssl/certs/diced.tech.pem
Now you can configure the NGINX configuration file to use the SSL certificate.
server {listen 443 ssl;client_max_body_size 100M;server_name <your domain>;ssl_certificate /etc/ssl/certs/<your domain>.pem;ssl_certificate_key /etc/ssl/certs/<your domain>.key;location / {proxy_pass http://localhost:3000;proxy_set_header Host $host;proxy_set_header X-Real-IP $remote_addr;proxy_set_header X-Forwarded-For $proxy_add_x_forwarded_for;proxy_set_header X-Forwarded-Proto $scheme;}}